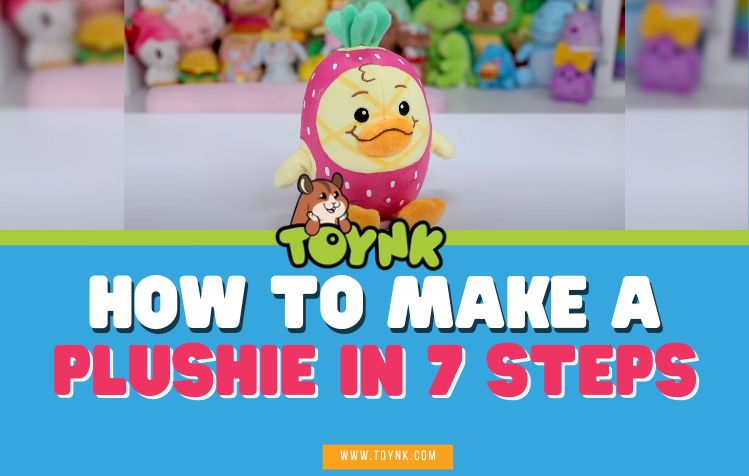
Sometimes, finding a plush toy that perfectly matches your character and style is frustrating. You might find something close, but the eyes are off, or the nose is too large. The good news? You can create your plushie with just a few materials and basic techniques!
Designing and making your own plush is easier than you think! Learn how to make a plushie today!
Shop The Plush Toys Collection Now
7 Steps In Making A Plushie
1. Gather All Materials Needed

To maximize efficiency, prepare and gather all necessary materials before starting. This first step prevents interruptions during the creative process.
Here are the essential items you'll need:
- Thread or embroidery floss
- Stuffing (polyester fiberfill recommended)
- Fabric (fleece, minky, or cotton)
- Pattern (paper for drafting)
- Scissors (fabric and paper)
- Decorative elements (beads or sequins)
- Safety eyes and nose (or fabric alternatives)
- Fabric markers or pins
2. Sketch Your Plushie
Creating the initial design is both challenging and rewarding. This crucial step allows you to customize every aspect of your plush doll!
Consider your plushie's size, proportions, and features like eyes, nose, ears, and clothing. Start with a clean sheet of paper and a pencil to outline first. Many creators find this process to be a rewarding experience.
If drawing isn't your strength, numerous free patterns are available online from sites like Instructables. Download one that's close to your vision, then modify it to match your preferences.
3. Choose Its Fabric & Color
Flannel

Flannel is perfect for cute, simple plushies. Available in various prints and colors, it's reasonably priced and beginner-friendly with minimal fraying at the edges. While not as fluffy as sherpa or minky fabrics, flannel has a cozy, warm, pleasant texture.
Cotton
Cotton fabrics come in countless prints and colors, making them ideal for detailed character designs. They're affordable and widely available but lack the plush feel of fleece or minky. Cotton works best for flat plushies or accent pieces rather than the main fabric for stuffed animals.
Fleece

This extremely soft fabric makes plushies huggable and appealing. Its edges don't fray, making it beginner-friendly and easy to work with. Available in a wide range of colors, fleece is perfect for most plushie projects. However, if you want a furry, textured look, you might prefer other options.
Felt
This fabric type is nearly as affordable and easy to work with as cotton and flannel. It's readily available at craft stores. However, polyester felt tends to pill over time, which can affect your plushie's appearance. While felt is durable, it's not as soft as other fabric options for plush toys.
Shop The Plush Toys Collection Now
Faux Fur

For realistic, professional-looking plushies, faux fur is unmatched. Its long fibers effectively conceal stitching imperfections, creating a seamless, high-end appearance. However, beginners may find it challenging to work with. Faux fur sheds significantly, potentially covering your workspace and clothing. It's also more expensive and requires special sewing techniques.
Old Cotton Shirt
If you're looking for a low-cost option, repurpose old cotton T-shirts. Look for shirts with soft fabric in colors that match your design. Avoid sheer or thin fabrics like chiffon or lace, which might reveal the stuffing.
Read: Top FNAF Plushies
4. Create a Pattern

You have two main options for creating your sewing pattern. First, you can manually transfer your design onto a larger sheet of paper, adding seam allowances of approximately ½ inches around all edges. Alternatively, you can take your design to a local print shop for professional enlargement to your desired size.
For complex shapes, consider creating a quick prototype using inexpensive fabric or paper to test the pattern before cutting into your final fabric. Digital tools like Illustrator can also help refine your pattern design.
5. Cut Out the Pattern & Sew
After finalizing your pattern, carefully cut each piece from your chosen fabric. Place your pattern pieces on the fabric, trace around them, and cut along the lines. Remember to cut mirror images for paired pieces like arms, ears, or wings.
Pin fabric pieces together with right sides facing inward (if your fabric has a distinct front and back). Use straight pins to secure the edges before sewing. Stitch along the traced lines using a basic running stitch, either by hand or machine. Leave an opening of approximately 2-3 inches to insert stuffing.
6. Stuff Your Plushie
Polyester Fiberfill

A polyester fiberfill is a synthetic material that can be used in cushioning stuffed toys. It’s soft, extremely fluffy, durable, and widely used in filling stuffed animals. It is made from polyester [1] and can easily be bought in local craft stores.
Dry Polyester Packing Fiberfill
This alternative fiberfill isn't treated with silicone, resulting in a firmer texture. It compacts more densely, making it ideal for filling small spaces or creating plushies with more structure and less squishiness.
Poly-Pellets & Bean Bag Fillers

Poly-pellets or bean bag fillers provide stability for plushies with weight or special positioning needs. These small plastic beads add weight while maintaining flexibility. Alternatives include dried rice, large plastic beads, dried beans, old t-shirts' fabric, and old stuffing from pillows or pet plush toys like little bears.
7. Seal & Sew
After filling your plushie to your desired firmness, close the opening using a ladder or whip stitch. This creates an invisible seam that blends with the rest of your work.
Next, add the final details, such as eyes, nose, and any decorative elements. While safety eyes should be inserted before stuffing, you can sew on fabric eyes afterward. You may use hot glue for small decorative pieces, though hand-stitching typically creates more durable attachments. The embroidery details can make your creation truly unique.
FAQs
Can you make a plush without sewing?
Yes, you can make a plush without sewing. If you don't know how to sew/stitch or use a sewing machine, you can use glue to seal the fabric pieces. Companies like Budsies offer an option to create your plushie by simply uploading an image or digital file of your idea.
How long does it take to make a plushie?
The length of time it takes to make a plushie depends on how complicated your design is or how excellent your skills are. However, if you're making a simple small animal plush doll with a pre-made pattern, you might finish it in around 45-50 minutes. More complex designs with 3D elements or custom embroidery will take longer.
So, How Do You Make A Plushie?
To make a plushie, you’ll need to draft a pattern, choose its fabric and stuffing, sew, and design it according to your preferences. Some people think making an animal plush is difficult, but a comprehensive guide like this makes the process accessible. Whether you're making a bunny, bear, or other cuddly creation, these steps provide everything you need.
Did you enjoy making your first-ever custom plush using our tutorial? If you did, please take a picture of your creation and comment below or share on Instagram! If you still can't finish one, maybe you need inspiration or prefer to order from a professional manufacturer.
Check out Toynk and purchase one fluffy plush toy now!
Shop The Plush Toys Collection Now
Reference:
- https://www.sciencedirect.com/topics/nursing-and-health-professions/polyester